Maya to Houdini
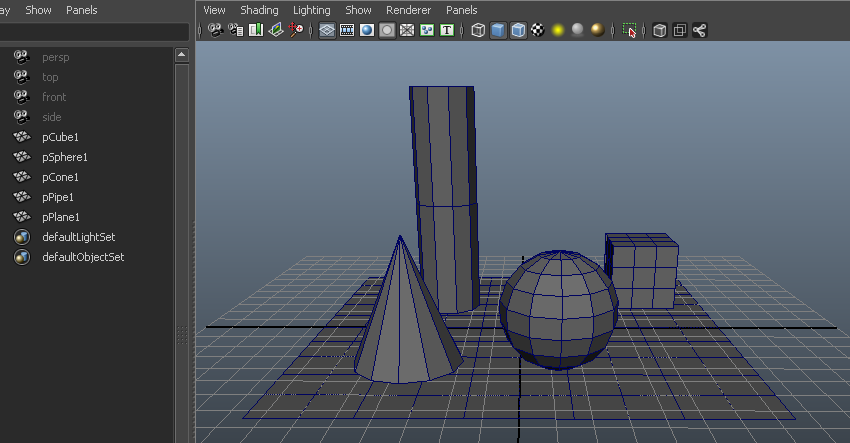 Lets take this Maya scene of five objects. I could export each object into separate OBJ files. But say this is a character and I would like it to be just one file.
 If I select all of the objects and go to the export dialogue, I can check on 'Groups'. This will let the OBJ data to recognize that there are 5 "groups" in this geometry.
 When we bring in the file in Houdini, sometimes the normals will turn out strange. To fix that, just use a Facet SOP, and 'Pre-Compute Normals' checked. Now if we take a look at the information...
 ...we see that we have 5 primitive groups with the same names as the objects in Maya. We also have the UV information coming in as a Vertex attribute, so that's useful. Geometry coming from Maya usually comes with Normal and UV data embedded. Groups created in Maya will also appear in the list.
Houdini to Maya
 Here is a ground chunk model I created in Houdini. Before exporting this geometry as OBJ, we should first prepare the data we want embedded in the file.
 I need to create primitive groups for each of the chunks. Depending on the model's topology, the methods may vary. For this one, I can just use a Connectivity SOP to Partition SOP.
Next, it is a good idea to clean out unnecessary attributes. This will help keep the OBJ's file size to a minimum. Besides, Maya cannot use data such as point color and point velocity. The Clean SOP is a convenient way to do this. Just remove everything but the Normal and UV attributes. Make sure that the UV attribute is a Vertex type attribute and not a Point type.
Also clean out unused groups. Make sure that, one, they are Primitive type groups and not Point type. And, two, that no primitives are a member to more than one group. Maya doesn't like that too much.

 Now in Maya's Import Options menu, check 'Multiple Objects' so that each group you created in Houdini will come in as a separate object. The other stuff in the menu is optional.
 There you go. Sometimes the edges come in hard. You can just use Maya's Soften Edge function to fix that.

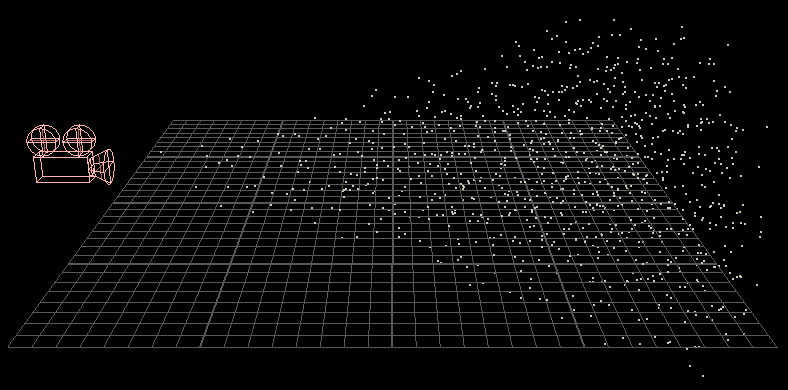
 Our UVs came in OK too.
What if you have animation? What if your UVs change over time? Well that's another story. For now I just wanted to focus on OBJ files in general.
 Here is a ground chunk model I created in Houdini. Before exporting this geometry as OBJ, we should first prepare the data we want embedded in the file.
 I need to create primitive groups for each of the chunks. Depending on the model's topology, the methods may vary. For this one, I can just use a Connectivity SOP to Partition SOP.
Next, it is a good idea to clean out unnecessary attributes. This will help keep the OBJ's file size to a minimum. Besides, Maya cannot use data such as point color and point velocity. The Clean SOP is a convenient way to do this. Just remove everything but the Normal and UV attributes. Make sure that the UV attribute is a Vertex type attribute and not a Point type.
Also clean out unused groups. Make sure that, one, they are Primitive type groups and not Point type. And, two, that no primitives are a member to more than one group. Maya doesn't like that too much.

 Now in Maya's Import Options menu, check 'Multiple Objects' so that each group you created in Houdini will come in as a separate object. The other stuff in the menu is optional.
 There you go. Sometimes the edges come in hard. You can just use Maya's Soften Edge function to fix that.
 Our UVs came in OK too.
What if you have animation? What if your UVs change over time? Well that's another story. For now I just wanted to focus on OBJ files in general.